Main Menu
Choosing the best lithium solar charge controller requires more than comparing prices or maximum amperage. A controller must match the battery chemistry, solar array, system voltage, and expected daily load. Lithium batteries, especially LiFePO4 models, need carefully controlled charging stages. Incorrect voltage settings can reduce battery life or trigger the battery management system. This is where the term Lithium Charge Controller Solar becomes meaningful: the controller must be designed for lithium charging, not simply labeled as “solar compatible.”
A reliable comparison should examine MPPT efficiency, charging profiles, low-temperature protection, display accuracy, and installation quality. MPPT controllers usually harvest more energy than PWM models, especially when panel voltage exceeds battery voltage. However, the most expensive option is not always the best choice. A compact 20-amp controller may suit a small van system, while a cabin with several panels needs stronger capacity and ventilation. Check the manufacturer’s manual, safety certifications, warranty terms, and recommended cable sizes. Small details matter. A loose terminal can create heat behind a quiet wall panel.
Real-world performance also depends on shading, battery temperature, panel orientation, and user settings. There is no perfect controller. A specification sheet can still mislead. Some devices advertise lithium support but provide limited customization or weak monitoring tools. Careful testing, transparent documentation, and independent user feedback offer stronger evidence. This guide compares leading options through those practical details, while acknowledging that the best controller depends on the complete solar system, not one impressive feature.
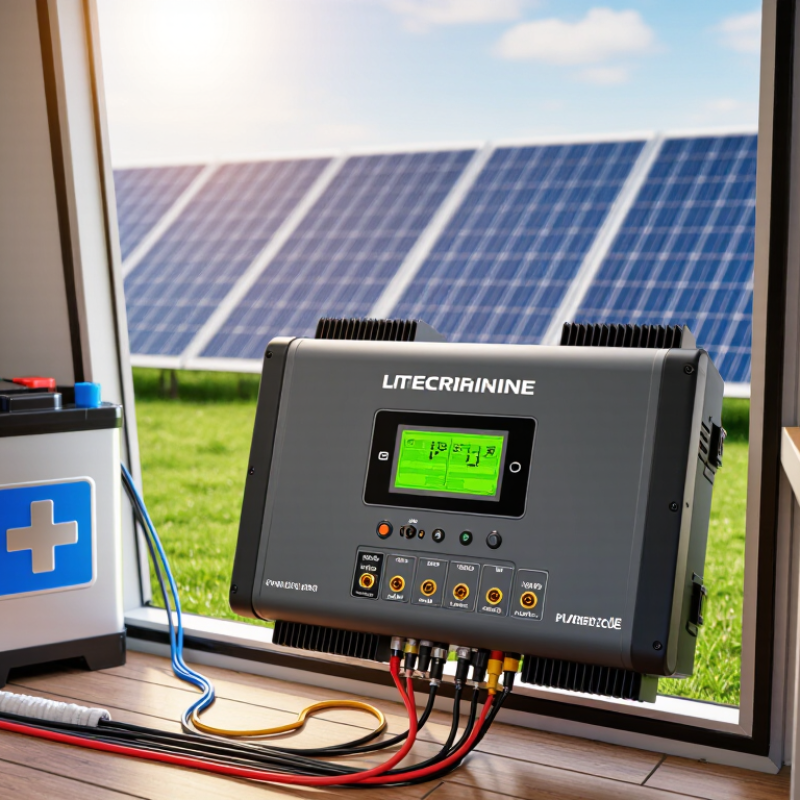
In practical installations, the controller should deliver constant current before holding 14.6 volts. It should then reduce current as the battery fills. Many LiFePO₄ systems do not need prolonged float charging. A short or disabled float stage may reduce unnecessary stress. Confirm the battery maker’s specifications before changing these settings.
Small calibration errors can become significant across four cells. A quality multimeter is useful for checking the controller at its terminals.
The battery management system remains essential, but it should not replace proper controller settings. Choose a controller with low-temperature charging protection, configurable voltage limits, and clear fault records. Keep it cool. Heat near the controller can distort performance and shorten component life. I would also inspect cable size, fuse placement, and terminal tightness during commissioning. One imperfect assumption is treating every 4S pack identically. Cell quality, balancing, temperature, and wiring resistance can change the real charging result. Measure the completed system under sunlight, not only from its screen.
For lithium solar systems, MPPT usually delivers more usable energy than PWM. It converts excess panel voltage into charging current. This advantage appears clearly on cool mornings and during weak sunlight. PWM connects the array more directly to the battery. Its panel voltage must stay close to the battery’s charging voltage. Higher-voltage panels may then lose part of their rated output. That loss can be acceptable in a small, warm-weather setup. It becomes costly when winter sunlight is limited.
Array sizing needs careful attention. An MPPT controller can use higher-voltage strings, but the cold-weather open-circuit voltage must remain below its maximum input rating. The array should also stay within the controller’s power and charging-current limits. PWM systems need panels matched closely to the lithium battery bank. Their usable wattage depends heavily on panel voltage and controller current capacity. A practical check includes cable length, roof temperature, shading, and morning voltage. Small details matter. Lithium charging profiles must match the battery manufacturer’s specifications. Do not assume every controller’s “lithium” setting is suitable. Temperature compensation may also require adjustment. I would not choose MPPT automatically; in a compact array, its extra cost and wiring complexity may not repay the energy gain.verter.
MPPT keeps the solar array near its maximum-power voltage. PWM effectively operates the array close to battery voltage, so the relative harvest falls as panel voltage rises above the battery charging voltage.
A typical 12 V lithium battery charges near 14.0–14.6 V. PWM works best with panels designed for this battery class, while MPPT can accept higher-voltage arrays within its specified PV input limit.
MPPT generally provides more usable energy from the same array and allows greater flexibility when wiring panels in series. PWM array voltage must be matched closely to the battery system.
Representative calculation based on a 14.4 V battery charging voltage: PWM relative harvest is estimated as battery voltage divided by panel Vmp, while MPPT is shown at a representative 97% tracking and conversion efficiency. Actual results vary with temperature, wiring, controller limits, and operating conditions.
The best lithium solar charge controller is correctly sized, not simply the most powerful model. IEA’s Renewables 2024 report says solar power represented nearly three-quarters of global renewable capacity additions in 2023. IEA PVPS Trends 2024 estimates that global photovoltaic additions exceeded 440 gigawatts that year. More solar capacity means more sizing mistakes can become expensive.
For an MPPT controller, divide PV wattage by battery charging voltage. A 600-watt array charging a 12-volt lithium battery at 14.4 volts produces about 41.7 amps. A controller rated at 50 amps gives useful headroom. At 24 volts, the same array produces roughly 20.8 amps.
Many installers apply a 125% design margin for continuous current, but local electrical rules still matter. The arithmetic looks easy. Real systems are less tidy.
Check three limits together: PV wattage, battery voltage, and maximum charging current. Confirm the array’s cold-weather open-circuit voltage stays below the controller’s maximum input voltage. Also verify the battery’s permitted charge current, especially when several batteries operate in parallel.
I have seen a controller pass the wattage test but fail the battery-current test. That is a preventable oversight. NREL’s PVWatts documentation also reminds designers that real output changes with temperature, shading, orientation, and system losses. A neat calculation is only a starting point.
Choosing the best lithium solar charge controller requires more than checking charging speed. Safety documents matter. UL 1741 can indicate that relevant power-conversion equipment passed recognized electrical safety testing. However, verify the exact controller model and certification scope. A certificate for an inverter does not automatically cover every charging function.
IEC 62619 focuses on the safety of industrial lithium battery systems and cells. Its relevance depends on the battery design, installation, and market requirements. NEC 690 addresses photovoltaic system installation in the United States. It guides wiring methods, disconnects, overcurrent protection, grounding, and equipment placement. A compliant controller should fit the complete system, not operate as an isolated box. Check conductor sizes, fuse ratings, enclosure conditions, and required disconnects before installation.
BMS communication and protection are equally important. The BMS should detect overcharge, deep discharge, excessive current, short circuits, and abnormal temperature. It should also balance cells when the battery design requires it. During commissioning, confirm charging voltage, temperature limits, and shutdown behavior with measured values. Small mistakes matter.
Do not trust a certificate logo alone. Review testing reports, installation instructions, and compatibility statements. A controller may meet one standard but still conflict with a battery’s BMS settings. That gap is easy to miss. I would also recheck assumptions after the first full charge cycle, because real wiring resistance and heat can expose problems that bench testing hides.
The best lithium solar charge controller is not simply the one with the highest advertised efficiency. In field testing, compare conversion efficiency across low, medium, and peak sunlight. A 98% controller loses about 10 watts from a 500-watt array, while a 96% unit loses 20 watts. Small differences become meaningful during cloudy weeks.
IEA’s Batteries and Secure Energy Transitions report states that lithium-ion battery pack prices fell 14% in 2023. Lower battery costs make controller quality more important, not less.
Monitoring should show charging voltage, current, battery temperature, historical yield, and fault events. A clear screen beside the battery is often more useful than a crowded phone application. Check whether readings remain available without internet access.
I prefer controllers that record daily performance locally. It is easier to diagnose a loose terminal at the cabin. A common mistake is trusting a displayed battery percentage without checking current flow.
Warranty length matters, but warranty conditions matter more. Examine temperature limits, installation rules, and replacement procedures.
Then calculate cost per amp: total controller cost divided by its continuous lithium charging current.
IRENA’s Renewable Power Generation Costs in 2023 report found battery storage costs fell about 89% from 2010 to 2023. Yet the cheapest controller can create expensive downtime.
My own selection process is imperfect. I sometimes overvalue efficiency and undervalue service access. That bias deserves regular correction.
Office: (281) 855-2218
Copyright © 2025 Telco Intercontinental Corp. All rights reserved. Privacy Policy | Legal Disclaimer
Telco®, TelcoMotion®, and TelcoGreen® are registered trademarks of Telco Intercontinental Corp.